


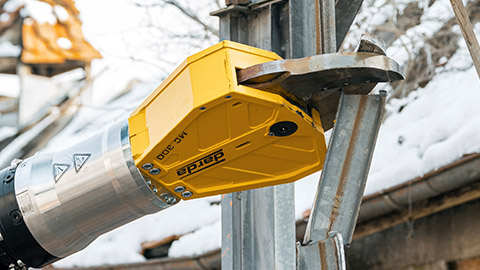
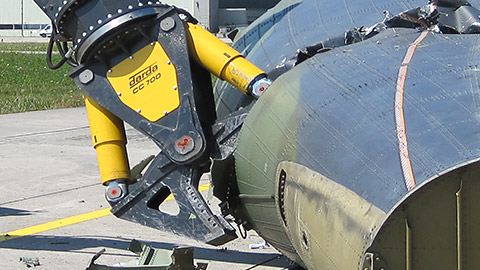
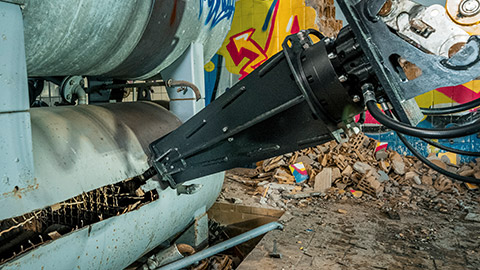








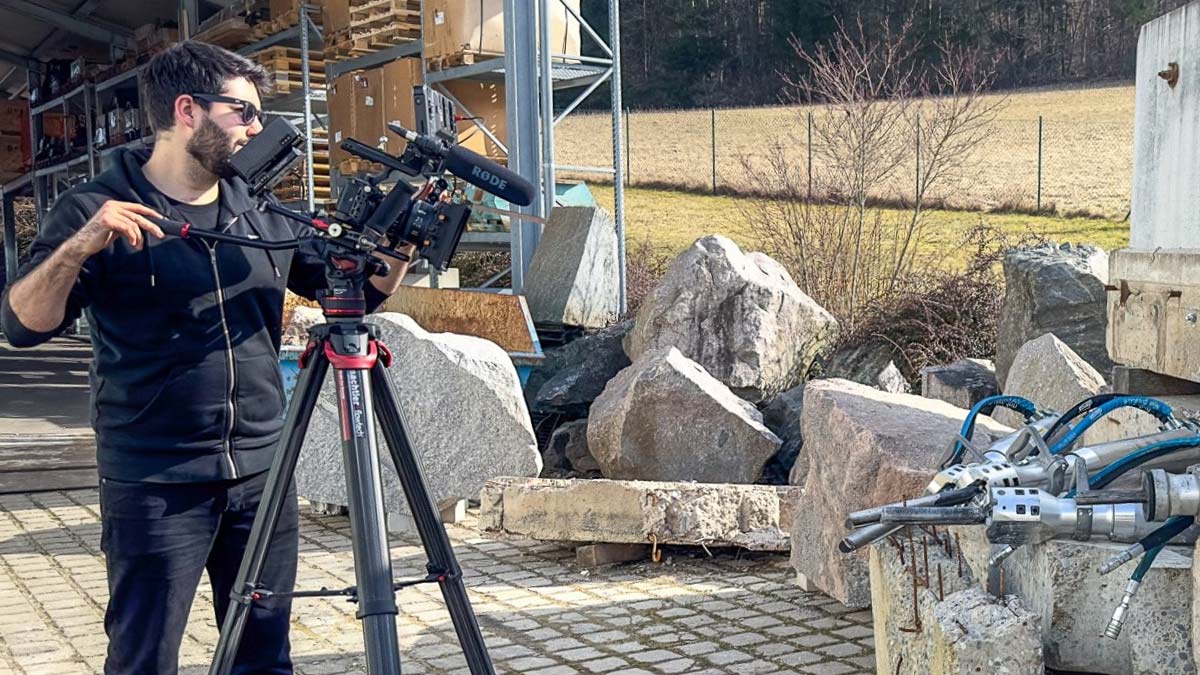




Joint pointing forms the interface between components and materials. It ensures sealing, load transfer and defined freedom of movement-and it significantly determines the durability of masonry, concrete members and natural stone façades. In deconstruction and concrete demolition, the joint is also a natural separation and weakness zone along which components can be deliberately released. This double role makes joint pointing a topic of high practical relevance both in new construction and in specialized deconstruction. Tools such as concrete pulverizers or hydraulic wedge splitters use joint lines in structural concrete, masonry or natural stone to detach components in a controlled way and protect adjacent structures-especially in sensitive environments such as interior demolition, tunnel construction, natural stone extraction and special operations.
Correctly designed joints increase service life, reduce follow-up costs and ensure serviceability in operation. Precise coordination of joint geometry, material behavior and construction sequence prevents moisture ingress, stress concentrations and premature deterioration.
Definition: What is meant by joint pointing?
Joint pointing refers to the deliberate formation, filling or sealing of joints between components or within a component. Depending on the function, one distinguishes, for example, construction joints, movement or expansion joints, connection joints, press joints and control joints. Joint pointing can be executed as interlocking (with mortar), sealing (with elastic sealants or waterstops) or combined. It fulfills tasks such as sealing against water, accommodating component movements, sound insulation, fire protection requirements within the system, and qualified load distribution to the joint flanks. In reinforced concrete construction, structurally effective joints also occur that must account for reinforcement continuity and bond.
In practice, the term is sometimes used interchangeably with joint sealing. From a technical perspective, pointing with mortar and sealing with elastic systems follow different design rules, substrates and acceptance criteria. Joint profile geometry (flank angle, backer rod, depth-to-width ratio) is decisive for durable function.
Joint types, functions and practical importance
The choice of joint type results from use, loading and construction method. Coordination between geometry, joint width and depth, the joint-pointing material and the adjacent construction materials is essential.
Common joint types
- Construction joints: Interruptions in the concrete placing process; require defined surface preparation and, if necessary, waterstops or injection hoses.
- Movement/expansion joints: Accommodate temperature- and shrinkage-induced length changes; usually sealed elastically (e.g., with suitable sealants and backer rod).
- Connection joints: Transitions between different materials (concrete – masonry – natural stone – metal); require coordinated adhesion promotion.
- Control and dummy joints: Controlled crack formation and separation cut in concrete surfaces, often produced with a joint saw and subsequently sealed.
- Press and dry joints in natural stone: Force-locking joints in dimension stone and paving; often executed with mineral joint mortar or wedging.
- Seismic joints: Allow relative displacements between building parts during dynamic events; require high movement capability and robust detailing.
- Firestop joints within systems: Limit the spread of fire and smoke; must match the classified assembly and be verified accordingly within the system.
Selection pitfalls:
- Undersized joint widths that do not match expected movement or tolerances.
- Three-sided adhesion in elastic joints leading to constraint and premature failure.
- Mineral mortars used where elastic accommodation would be required or vice versa.
Materials and systems for joint pointing
The correct material selection depends on loading, moisture, chemical exposure and movement accommodation.
- Cementitious joint mortars: For masonry, paving, natural stone; solid, mineral, with limited water uptake; frost/de-icing salt resistant as required.
- Polymer-modified mortars and reaction resins (e.g., epoxy): High abrasion resistance, chemical resistance, tight joint; frequently used in industrial floors and highly stressed areas.
- Elastic sealants (e.g., SMP/PU/silicone systems): For movement and connection joints; require backer rod, defined joint flanks and primers as per manufacturer instructions.
- Waterstops and profiles: For construction and expansion joints in water-exposed areas; can be internal or external and are integrated into the concrete cross-section.
- Injection systems: For subsequent sealing or repair of leaks, particularly at construction joints and cracks.
- Hybrid approaches: Combination of waterstop plus elastic surface seal where redundancy or staged protection is required.
Compatibility and boundary conditions
Decisive factors include adhesion (pull-off), deformability, temperature and UV resistance, as well as chemical compatibility with adjacent materials. For watertight concrete special rules for joint sealing must be observed. Notes in standards and codes must always be considered without replacing project-specific evaluation.
- Match modulus and movement class to expected strain; avoid stiff systems on highly moving joints.
- Check staining risk on natural stone; select low-bleed, compatible systems and primers.
- Consider hygric exposure and freeze-thaw plus de-icing loads in exterior applications.
Performance criteria for specification: movement capability, recovery, modulus, Shore A hardness, adhesion after immersion/aging, abrasion resistance for trafficked joints, and resistance to fuels, oils or cleaning agents where relevant.
Execution: preparation, joint pointing and aftercare
Proper joint pointing follows a clear sequence. Quality is created through preparation and adherence to ambient conditions.
Preparation
- Clean joint flanks, create sound, dust- and grease-free surfaces; remove loose matter (e.g., by joint milling or sandblasting depending on the substrate).
- Check geometry: joint width/depth, joint course, movement accommodation; if necessary, install backer rod (closed-cell round cord).
- Adhesion promotion: apply primers according to the system and observe drying times.
- Define mock-ups or test areas on representative substrates to verify adhesion and finish.
Installation
- Mortar joints: Mix mortar homogeneously, slurry into the joint or press in generously, shape the surface to the specified profile (smooth, flush, cove, sanded).
- Elastic joints: Install sealant bubble-free, tool the joint surface with suitable tools; avoid three-sided adhesion.
- Waterstops/profiles: Secure position, check integration, weld/glue splices as specified by the system.
- Cut joints: Produce defined edges with suitable saws; remove slurry and dust prior to sealing to ensure adhesion.
Aftercare and control
- Protect curing from mechanical loads, observe climatic conditions (temperature, humidity, wind).
- Visual inspection, if necessary pull-off or spot-sample tests; documentation with photos and measured values.
- Inspect edges and connection areas regularly to detect the need for repair at an early stage.
- Observe curing and loading times; postpone movements or traffic until minimum strength or elasticity is reached.
Typical acceptance tolerances: consistent joint width within specified range, continuous adhesion to both flanks, surface finish per specification, and absence of voids, bubbles or stains.
Joint pointing in the context of concrete demolition, interior strip-out and cutting
In deconstruction, the joint defines the sequence and methodology of separation. The goal is to release components with low vibration, with low dust and in a controlled manner to protect adjacent components.
Planning the separation concept
- Survey the joint courses: check existing drawings, probe openings, expose joints.
- Define a combination of joint cuts, crushing and splitting.
- Consider reinforcement layers; plan interfaces to steel components.
- Plan access, temporary supports and load paths for safe removal of segments.
- Define monitoring for vibration, noise and dust including threshold values.
Equipment reference and procedure
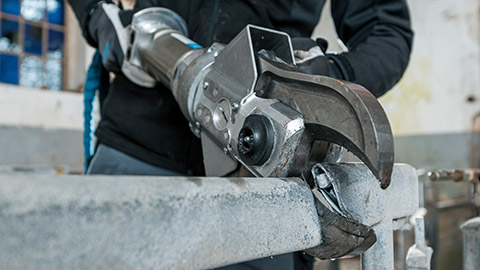
- Concrete pulverizers: Suitable for targeted biting along joints and edges. In combination with separation cuts, components can be released section by section.
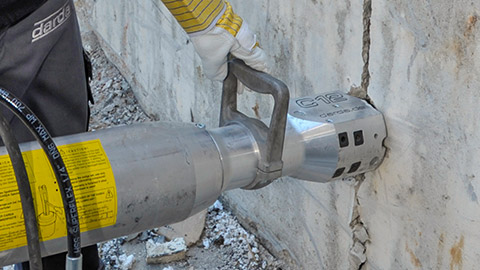
- Hydraulic wedge splitters as well as rock wedge splitter:
Use joints, drill holes or natural fractures to achieve controlled splitting-advantageous in sensitive environments.
- Combination shears and Multi Cutters: Cut embedded parts, profiles and reinforcement once joints are opened.
- Steel shears: For exposed reinforcement and steel beams at joint interfaces.
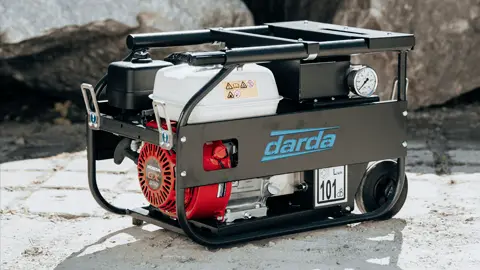
- Hydraulic power packs: Supply the hydraulic tools; adjust flow rate and pressure to component thickness and work sequence.
- Joint saws and wall saws: Produce dimensionally accurate relief and separation cuts along planned joint lines.
In interior demolition and cutting, joints are deliberately opened to selectively separate building elements. Joint cuts reduce restraint stresses; afterwards, components can be released section by section with concrete pulverizers or splitters-an approach that minimizes vibration and protects the surroundings. Sequencing, securing and immediate removal of cut elements reduce secondary impacts and improve site logistics.
Joint pointing, joint refurbishment and maintenance
Joints age due to movement, weathering, chemical effects or mechanical loads. A structured joint refurbishment preserves tightness and function.
Typical damage patterns
- Edge tear-offs and adhesion failures at joint flanks
- Cracks, embrittlement or shrinkage of the sealant
- Efflorescence and discoloration in mineral joints
- Voids, water ingress, biological growth
- Loss of elasticity under cyclic movement or thermal aging
Refurbishment sequence
- Damage analysis and determination of causes (movement, load, moisture, chemicals).
- Removal of the old joint: scraping out, milling, cutting-where joints are massive, biting with concrete pulverizers or splitting along lines of weakness can assist.
- Rebuild according to the system: prepare flanks, renew backer rod, properly install sealant/mortar.
- Define quality assurance and maintenance intervals.
- Perform adhesion and compatibility tests on the cleaned substrate before full-scale installation.
Planned maintenance with periodic inspections, targeted spot repairs and prompt resealing in exposed areas slows degradation and extends the functional lifespan of the joint network.
Joints and joint pointing in rock excavation, tunnel construction and natural stone extraction
In rock, the “joint” is the geological separation plane: fractures, bedding and cracks. These natural weakness zones govern extraction, stabilization and sealing.
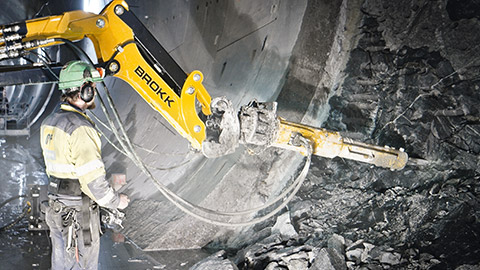
- Rock excavation and tunnel construction: Natural joints are used via drill patterns and splitting methods. Hydraulic wedge splitters and rock wedge splitter produce controlled splitting along fractures-reducing vibration and thus protecting neighboring structures.
- Natural stone extraction: Block separation follows the rock’s joint pattern. After extraction, dimension stones are installed with press or mortar joints depending on the application; the choice of joint pointing influences appearance, capillarity and durability.
- Special operations: In sensitive structures, for example in existing buildings with tight tolerances, knowledge of joint runs can decide success and safety. The interaction of joint cutting, splitting and gripping enables precise component separation.
- Sealing and consolidation: Where groundwater or inflows are present, targeted grouting along joint systems reduces permeability and stabilizes the excavation boundary.
Quality, testing and documentation
Reliable joint pointing is planned, executed and documented. This includes defined inspection features and acceptances.
- Planning: Joint grid, width/depth ratios, movement and load assumptions, climatic conditions.
- Testing: Visual, dimensional, adhesion (e.g., pull-off spot samples), surface quality, tightness tests within the system.
- Documentation: Material batches, ambient conditions, installers, photo documentation; in deconstruction additionally the segmentation and separation concept.
- Acceptance criteria: Uniform joint appearance, verified adhesion, correct backer rod positioning, and compliance with specified movement class and finish.
Occupational safety, health and environment
During joint pointing work and when opening joints, dust, noise, vibration and chemical exposure must be minimized. Personal protective equipment, extraction, low-emission methods and safe construction site logistics are essential. In deconstruction, low-vibration methods such as splitting technology and targeted work with concrete pulverizers help to reduce impacts. Disposal and recycling of joint materials must be planned and implemented according to applicable requirements. Legal requirements and standards must be observed; binding evaluations remain subject to the respective project.
- Establish a substance and exposure management plan for primers, sealants and cleaning agents.
- Use water suppression or extraction for saw cuts; schedule quiet periods and vibration monitoring where required.
- Classify and separate waste streams from joint removal for compliant disposal or recycling.
Interfaces with equipment and construction sequence
Joint pointing and its later opening or refurbishment are closely linked to the choice of equipment. Hydraulic tools for gripping, splitting and cutting are supplied by hydraulic power packs; flow rate and pressure must be matched to the work step. Combination shears, Multi Cutters, steel shears and-where steel components are present-special cutting tools are used when joints expose embedded parts and reinforcement. A coordinated sequence of work steps reduces downtime, rework and risks.
- Plan staging, access and handling of removed segments to avoid rework and secondary hazards.
- Define changeover points between cutting, splitting and crushing to keep interfaces clean and predictable.
Typical planning decisions around joints
- Define the joint grid: Movement and settlement assumptions, component geometry, temperature control.
- System selection: Mineral mortar, elastic sealant, waterstop, injection-each suited to the relevant loading.
- Substrate preparation: Adhesion flanks, edge chamfers, surface roughness, residual moisture.
- Deconstruction concept: Use joints as separation lines; plan a combination of joint cutting, splitting and crushing with concrete pulverizers.
- Tolerances and finish: Specify width ranges, surface texture and color matching, especially on exposed façades and paving.
- Inspection concept: Define hold points, sampling frequency and acceptance tests aligned with risk and exposure.
This page may be cited in commercial and non-commercial publications (e.g., specialist publications, forums, or social media) without prior permission.
Please feel free to copy the following link for your quote.