

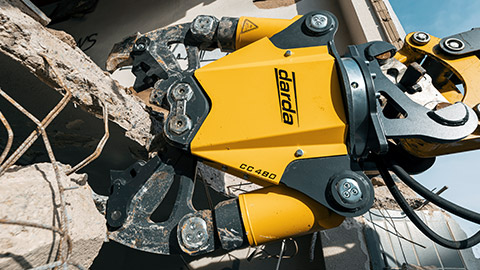
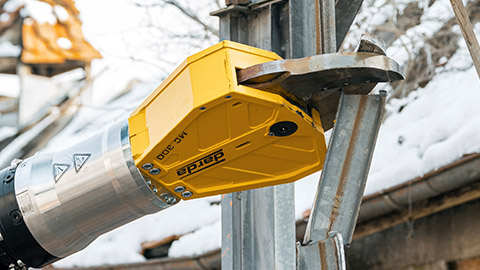
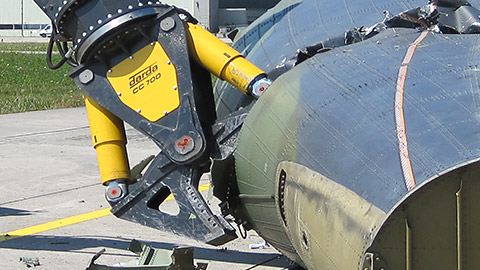
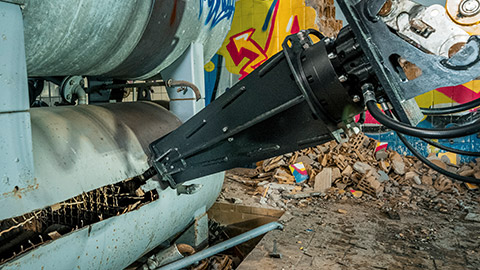




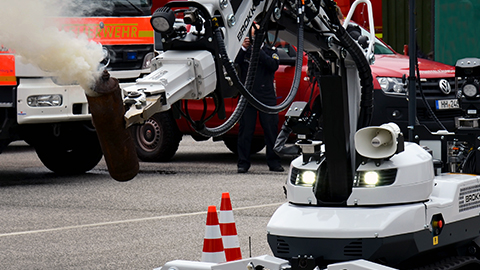



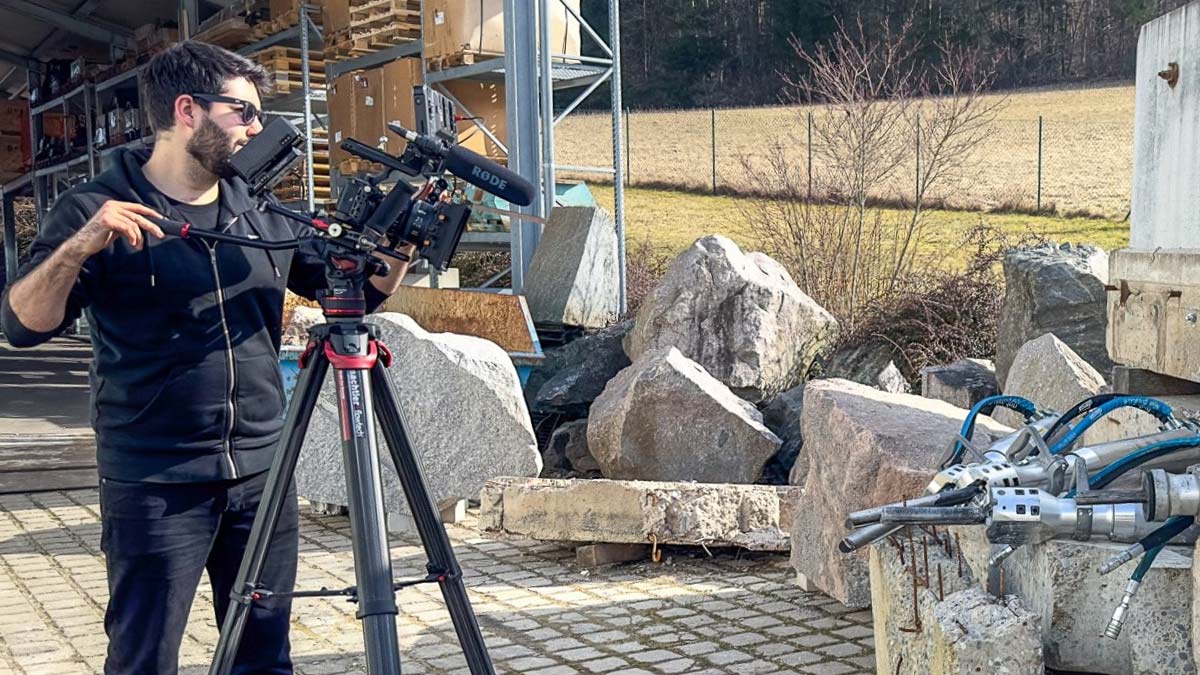



Plaster renovation denotes the professional repair of interior and exterior plasters on masonry and concrete. It spans from removing damaged plaster layers and preparing the substrate to installing new, functional plaster build-ups. In practice, plaster is often the visible result of preceding works: moisture damage, salt-laden plinth zones, cracks, delaminations, or corrosion-related spalling on reinforced concrete surfaces must first be exposed and removed in a controlled manner. In comprehensive refurbishments, these steps extend into gutting works, controlled demolition, and concrete repair. In the context of plaster renovation, tool-based solutions from Darda GmbH are also used – for example, a Combi-Shears HCS8 for concrete removal in existing structures or a hydraulic wedge splitter for low-vibration separation and non-explosive rock removal in sensitive areas. The goal is always a load-bearing, cleanly prepared substrate as the basis for durable plaster systems, underpinned by test areas and clear acceptance criteria for the subsequent coating build-up.
Definition: What is meant by plaster renovation?
Plaster renovation refers to the systematic identification of damage on plaster surfaces, the removal of non-load-bearing layers, and the restoration of a functional plaster build-up. This includes diagnostics (moisture and salt content, pull-off strength, crack analysis), selecting suitable removal methods, substrate preparation (cleaning, surface roughness, load-bearing capacity) as well as applying new plaster coats through to surface coatings. Plaster renovation therefore covers both aesthetic and building-physics tasks such as moisture protection, vapor diffusion, and minimizing thermal bridges. In existing buildings, plaster works are often linked with portions of concrete demolition and special demolition: for example, exposing corroded reinforcement on façades, removing overly thick cement plasters, or opening connections as part of gutting works and concrete cutting. At such interfaces, precise, low-dust, and low-vibration working methods are critical to protect the structure. In specialist language, the process is also termed render repair or render renovation; in heritage contexts, the principle of minimal intervention and reversibility applies. Interfaces with concrete repair follow recognized principles for reprofiling and surface protection, while mineral plaster mortars are selected for compatibility and vapor diffusion.
Causes and damage patterns on plaster surfaces
Typical causes of plaster damage include moisture and salt exposure (rising damp, splash water, condensation), thermal and hygric stresses, improper preparatory work, inadequate adhesion between plaster and substrate, unsuitable materials, or movements within the structure. They manifest as delaminations, spalling, efflorescence, cracks (crazing, shrinkage and settlement cracks), sanding, or discoloration. On reinforced concrete surfaces, there are additional corrosion-induced delaminations of the concrete cover area that must be properly removed and reprofiled before actual plaster repair. Freeze-thaw cycles, salt crystallization pressure, and rigid, film-forming coatings that block vapor diffusion can intensify damage; distinguishing symptoms from root causes is essential to avoid recurring defects.
Practical approach: from diagnosis to the new surface
A targeted plaster renovation follows a structured sequence that protects the building fabric and increases the service life of the plaster system. Trial areas, mock-ups, and clearly defined quality targets reduce execution risks and support transparent acceptance.
1. Investigation and planning
- Survey of the existing condition: mapping cracks, delaminations, spalling, and moisture ingress.
- Testing: pull-off tests, drill dust test, conductivity measurement, moisture and salt analysis, review of details (connections, plinths, window reveals).
- Defining the intervention depth: specifying which areas are to be exposed down to sound substrate; establishing protection measures (dust suppression, vibration limits).
- Supplementary diagnostics where required: endoscopic checks in cavities, thermal imaging, chloride content on reinforced concrete, and carbonation depth.
- Planning trials: test fields for removal techniques and plaster systems, including verification of adhesion and drying behavior.
- Coordination of boundary conditions: work windows in occupied buildings, heritage requirements, and interface management with other trades.
- Digital documentation and layout plans for scaffolding, protection, logistics routes, and waste streams.
2. Removal of damaged existing plaster and local concrete removal
- Mechanical plaster removal with handheld tools, matched to the substrate and damage pattern.
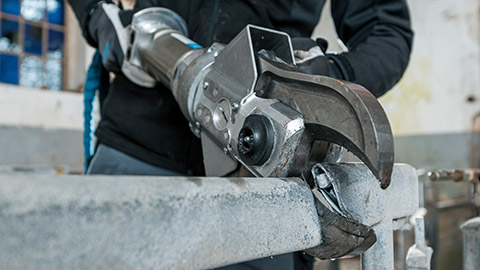
- On concrete surfaces: expose corroded reinforcement and remove loosely adhering concrete. In practice, a concrete demolition shear is used to create controlled edges, tabs, or breakouts without introducing unnecessary vibration into the structure.
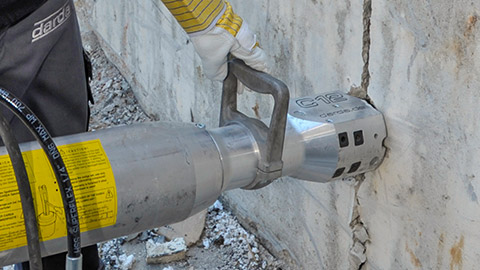
- In adjacent masonry and concrete areas that must not be completely demolished, hydraulic wedge splitters – such as hydraulic rock and concrete splitters – enable low-vibration material separation or non-explosive rock removal – useful in sensitive environments such as hospitals, schools, or listed buildings.
- Dust and debris management: use of extraction attachments, wet methods where suitable, and immediate containment to protect adjoining surfaces.
- Defined edge geometry: avoid feathered edges by cutting back to a clear step or rebate to ensure a reliable tie-in of new layers.
- Control of emissions: adherence to project-specific vibration and noise thresholds; water capture and treatment during wet operations.
- Selective scarifying or shot blasting to remove weak surface zones and to produce uniform bonding roughness where required.
3. Substrate preparation
- Cleaning (dust, release agents, salts) and producing suitable surface roughness.
- Corrosion protection and passivation of exposed reinforcement; reprofiling with suitable mortars.
- Pre-wetting mineral substrates and, if necessary, applying a dash coat to improve bond.
- Check substrate moisture content and salt load to determine suitability and timing for re-plastering; install sacrificial layers in highly salt-laden zones if needed.
- Compatibility of bonding agents or primers with the chosen plaster mortar; observe recoat windows.
- Observe curing of repair mortars before subsequent layers to prevent shrinkage-induced cracking.
4. Building up the new plaster system
- Selecting the plaster system according to moisture and salt exposure (e.g., renovation plaster systems in plinth zones, lime or lime-cement plasters where vapor diffusion is required).
- Installing reinforcement layers in crack-prone areas; observing connection details, drip edges, and splash-water protection.
- Final coatings according to use and exposure, including adequate drying and curing times.
- Detailing of movement and connection joints; avoid rigid connections and ensure proper terminations at reveals, parapets, and base zones.
- Coating compatibility: prefer mineral or silicate systems on vapor-open plasters; avoid dense, film-forming paints in drying or salt-stressed areas.
- Climatic conditions during curing: temperature, humidity, wind, and solar radiation management to prevent rapid water loss and surface defects.
Material selection and system build-up: compatible and physically coherent
Material compatibility between plaster mortar, substrate, and coating is central. On salt- and moisture-exposed surfaces, sorptive, capillary-active, and vapor-permeable layers are preferred so that moisture can dry out and salts are buffered. Lightweight, porous plaster mortars reduce stresses; lime and lime-cement plasters support vapor diffusion and alkalinity. In critical zones, reinforcement mesh helps distribute stresses. A coherent layer build-up is important: load-bearing substrate, if applicable a dash coat, base and leveling coats, finishing plaster, and suitable coating. On reinforced concrete surfaces, the rules of concrete repair apply for reprofiling and surface protection before building up plaster layers. In practice, systems are selected by diffusion openness (e.g., SD-value), capillary absorption (e.g., Wc), and compressive strength class (e.g., CS I to CS IV), ensuring that outer layers remain sufficiently vapor-open and mechanically compatible with the substrate.
- Prefer mineral, vapor-permeable mortars in moisture- and salt-stressed areas; avoid barrier layers that trap water.
- Match stiffness: softer, more deformable plasters on weak substrates; higher strength only where structurally necessary.
- Design the build-up as a gradient from strong to weaker and from less to more vapor-open to the exterior to reduce stress.
- Account for exposure classes (splash water, driving rain, freeze-thaw) when defining coat thicknesses and finishing textures.
Machinery in the context of plaster renovation
Although the actual plaster application is craft work, the choice of technology for deconstruction and exposure decisively influences quality:
- Concrete demolition shear: For selective removal of concrete cover, opening edges, and safely exposing reinforcement in façade and slab areas. It supports a precise workflow with low vibration levels in existing structures.
- Hydraulic wedge splitter (incl. rock wedge splitter): For low-noise, low-vibration separating or non-explosive rock removal of massive components in the immediate vicinity of intact plaster surfaces – for example, when enlarging reveals, removing overly thick cement plaster shells, or demolishing small concrete projections.
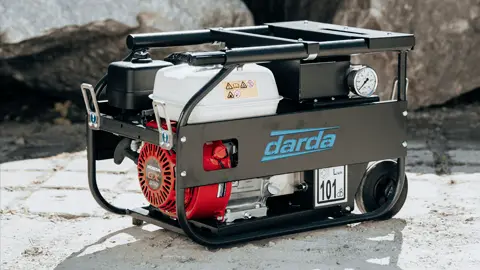
- Hydraulic power pack: Energy supply for hydraulic tools indoors when electric or combustion-engine alternatives are restricted for emission or safety reasons (Power Units).
- Hydraulic shears, multi cutters, steel shears: In gutting works and when cutting built-in parts (profiles, meshes, fixings) prior to plaster renovation, to release connections in a controlled way.
- Cutting torch: In industrial repurposing, media-carrying tanks and pipelines can be professionally separated in advance before adjacent plaster and concrete surfaces are repaired.
- Dust extraction and water suppression accessories: For effective dust control at the source and reduced secondary contamination during removal and surface preparation.
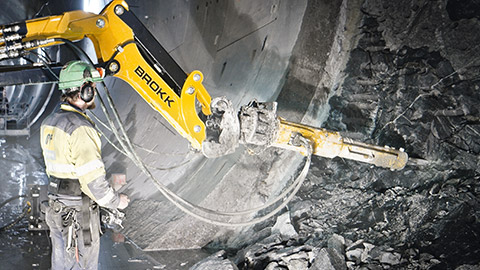
This machinery is assigned to the application areas of gutting works and concrete cutting as well as concrete demolition and special demolition. Under special boundary conditions (hospital operations, historic preservation, densely populated neighborhoods) it is adapted as a special operation to protect the structure, users, and surroundings. Tool selection and parameterization depend on component strength, reinforcement cover, access conditions, and permissible emissions.
Special boundary conditions: sensitive existing fabric, historic preservation, operation within buildings
In sensitive projects, low vibrations, dust control, and noise reduction measures are paramount. This applies to buildings in operation as well as historic façades. Hydraulic wedge splitters enable quiet, controlled separating operations, while a concrete demolition shear notches specific component areas precisely without endangering large plaster fields. Transport routes, load transfer, and logistical constraints in existing structures must be clarified early. Surfaces must not be secondarily damaged by water and dust; therefore extraction, containment, and organized material flows are part of work preparation. Defined vibration and noise thresholds, negative-pressure zones with HEPA filtration, and coordinated work windows contribute to safe and compliant execution.
Occupational safety, environment, and disposal
Work on plaster surfaces can release dust, fine quartz fractions, or old coatings. Protective measures (respiratory protection, dust extraction, wetting, containment) must be determined for the project. If hazardous legacy materials are suspected (e.g., asbestos-containing plasters/fillers, or old coatings containing lead or PCB), prior investigations and suitable procedures must be planned, including asbestos remediation where applicable. Plaster and concrete debris must be collected separately and disposed of according to the applicable regulations. Water from wet cleaning must be retained and treated to prevent entry into the soil or sewer. Such notes are general and do not replace project-specific planning. Exposure to respirable crystalline silica requires technical and organizational controls; waste must be classified and routed via appropriate disposal streams, with documentation of quantities and treatment routes.
Quality assurance and documentation
- After removal: verification of load-bearing capacity and surface roughness, inspection of exposed reinforcement and concrete quality.
- During execution: compliance with mix ratios, layer thicknesses, waiting times, and ambient conditions (temperature, humidity, wind).
- After completion: pull-off tests, moisture and salt monitoring for renovation plasters, visual inspection of surface quality.
- Documentation: damage mapping, photo sequences, test protocols, materials and batch numbers used, information on the equipment employed (e.g., concrete demolition shear, hydraulic wedge splitter) and their parameters.
- Record climatic data and curing conditions, as-built deviations at details, and maintenance recommendations for the coating system.
- Include approvals of test areas and acceptance reports with measured values (e.g., adhesion, moisture) as part of the project file.
This page may be cited in commercial and non-commercial publications (e.g., specialist publications, forums, or social media) without prior permission.
Please feel free to copy the following link for your quote.