


The leveling instrument is one of the most fundamental measuring tools on the construction site. It ensures horizontal and vertical alignment, supports quality control, and creates reliable references—from setting up a cut-off saw to the precise positioning of drilling patterns for hydraulic rock and concrete splitters. In deconstruction with concrete demolition shears, during gutting works, in rock excavation, or in natural stone extraction, it also helps release components in a geometrically controlled manner and guide cuts or split lines with precision.
Definition: What is meant by leveling instrument
A leveling instrument is a length-measuring device for determining level (horizontal) and plumb (vertical). Its core elements are one or more vials filled with liquid that contain an air bubble. If the bubble is between the markings, the contact surface of the leveling instrument is aligned. In addition to classic models, there are precision and digital leveling instruments with angle display. In construction and deconstruction, the leveling instrument serves as a quick, robust reference for checking flatness, slope, and squareness.
Design and operation
The main body is usually made of aluminum, plastic, or cast metal. Recessed vials (for horizontal, vertical, and often 45° measurement) are clearly marked and easy to read. End caps protect the ends, while magnetic faces or V-grooves facilitate placement on steel and pipes. Measurement is optical: the air bubble settles in the arc of the vial and comes to rest between the marking lines when the contact surface is exactly aligned. Factors such as temperature, contamination, warping, or impact loads influence accuracy; therefore, care, visual inspection, and reversal checks are important.
Types of leveling instruments
Depending on the application, design, sensitivity, and additional functions differ. Selection is based on component size, surface characteristics, and the required accuracy level for the respective work step.
Classic construction leveling instrument
Robust aluminum or plastic profiles with two to three vials. Can be used universally for installation, masonry, formwork, and deconstruction checks.
Precision leveling instrument
Torsion-resistant, finely sensitive version for higher accuracy, for example to check a machine foundation, saw guides, or rail systems in cutting processes.
Magnetic and pipe leveling instruments
With magnetic strips or V-groove for steel beams, reinforcement, and pipelines. Useful when aligning guide rails or anchor points in demolition.
Digital leveling instrument and inclinometer
Electronic display of angles, slopes, and percent grade. Helpful for controlled gradients, for example for drainage openings or when setting up saw units.
Hose level
Hydrostatic system for transferring elevations over greater distances, including around corners. Suitable when line or point lasers cannot be used or when redundancy is required.
Use in concrete demolition and specialized deconstruction
In deconstruction, gutting works, and cutting operations, the leveling instrument supports geometric planning and ongoing control. It helps transfer target positions onto existing components, perform adjustments on attachments, and document results.
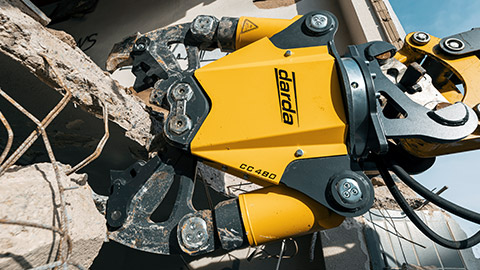
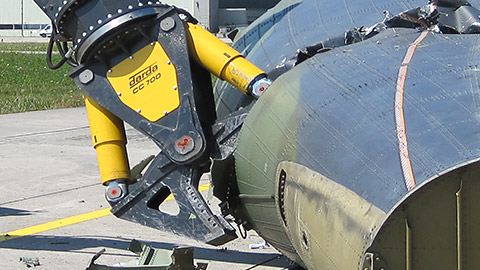
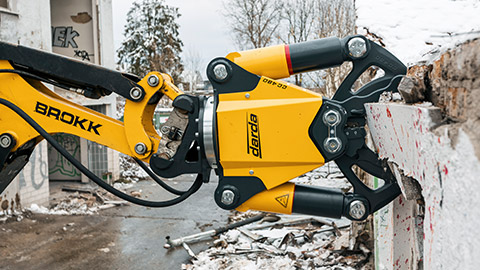
Aligning concrete demolition shears to component edges
When positioning a concrete demolition shear, the position of the gripping arms relative to the component edge is decisive. A plumb alignment reduces torsion, improves load transfer, and supports controlled breaking of slabs, walls, or beams.
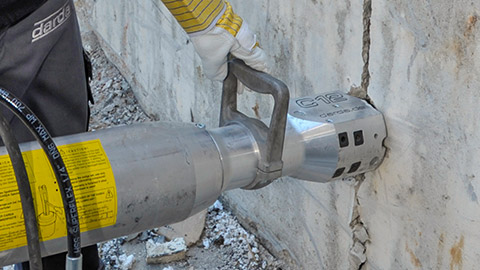
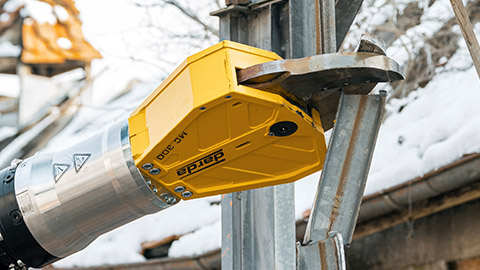
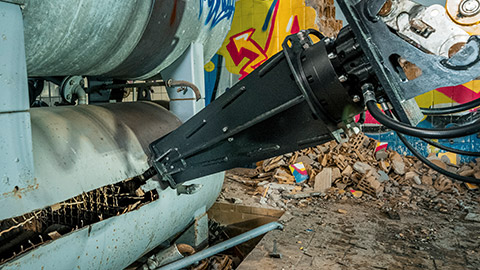
Placing rock and concrete splitters
Split lines and drilling patterns benefit from clean geometry: when the line is leveled over drilling points with the leveling instrument, cracks propagate more predictably. This facilitates targeted release of components, especially with non-explosive methods or where component access is limited.
Gutting works and cutting
When installing and checking guide rails for wall saws, setting up core drilling rigs, or installing temporary shoring, the leveling instrument establishes the base geometry. Right-angled references reduce offset and lower the rework effort.
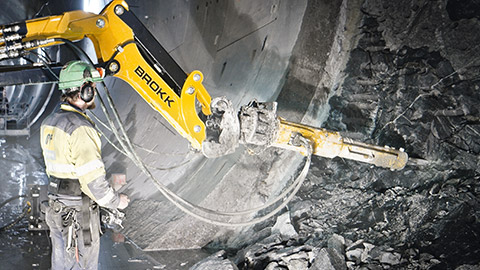
Rock excavation and tunnel construction
In rocky terrain, robust leveling instruments provide references for drilling directions, blast edges, or the alignment of splitting cylinders. Where electronic measuring tools reach their limits (dust, vibration), optical checking remains usable.
Natural stone extraction
During pre-cutting and splitting of natural stone blocks, the leveling instrument supports the parallelism of separation joints and the flatness of bearing surfaces. This improves dimensional accuracy and reduces material loss.
Practical guide: measuring and checking correctly
Clear, repeatable procedures increase measurement reliability—especially in the dusty, dynamic environments of deconstruction.
Procedure
- Clean the contact surfaces; remove loose particles.
- Select a suitable leveling instrument length (consider component size).
- Define the measuring point and mark the reference.
- Place the leveling instrument, center the bubble, document the result.
- Perform a reversal check to rule out measurement error.
- If necessary, make a correction and confirm the result again.
Reversal check
- Place the leveling instrument on the surface and note the reading.
- Rotate the leveling instrument (by 180°) and read again.
- If the two readings differ, assume warping or a need for calibration.
Measuring on rough surfaces
Irregular surfaces can distort the bubble. Longer leveling instruments bridge depressions better. If necessary, use suitable intermediate layers without creating point loads. Multiple measurements across and along the surface increase reliability.
On pipes, profiles, and reinforcement
V-grooves and magnets ensure a secure seat. On round stock, stabilize the position and avoid vibration. Angle measurements in percent make it easier to check defined gradients.
Typical sources of error and how to avoid them
- Contaminated contact surfaces: clean before each measurement.
- Warped main body: check regularly, avoid impacts, do not use as a lever.
- Vial damage or leakage: visual inspection; remove damaged instruments from service immediately.
- Magnetized chips on magnetic faces: remove to prevent rocking.
- Temperature fluctuations: allow acclimatization; avoid extreme heat/cold.
- Incorrect length: leveling instruments that are too short do not reliably depict flatness.
Calibration, care, and service life
Periodic checks are advisable to ensure measurement quality. Visual inspections, reversal measurements, and documented inspection intervals serve measuring equipment monitoring. Cleaning with mild agents, dry storage, and protection against drops increase service life. Damaged end caps or loose vials must be replaced. Electronic models require battery maintenance and a functional display check.
Selection criteria for practice
- Length: 60–100 cm for general installation; longer versions for doors/walls; compact models in confined spaces.
- Accuracy: adapt to the required tolerance level; prefer higher sensitivity for sawing and splitting lines.
- Readability: clear markings, shock-resistant vials, good visibility even in low light.
- Functions: magnet, V-groove, digital display depending on material and task.
- Robustness: impact-resistant profile, protected end caps, durable seals.
Quality assurance along the workflow
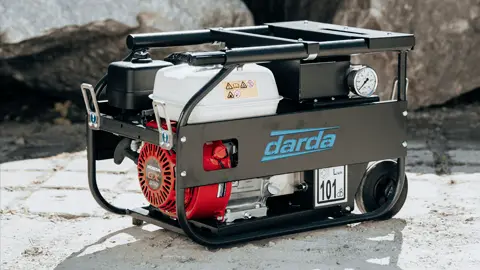
The leveling instrument links planning and execution: it helps align drilling and cutting templates, fix split lines, bring attachments into the correct position, and verify results. In combination with hydraulic power units, concrete demolition shears, rock and concrete splitters, and other attachments from Darda GmbH, clean alignment helps introduce forces in a controlled manner and reduce rework.
Safety and organizational notes
Leveling instruments are measuring tools and must not be used as levers, climbing aids, or striking tools. Measurements must be embedded in the hazard analysis; personnel must be instructed in handling, care, and inspection. Maintain safety distances from operating machines, avoid pinch points, and ensure fall protection when working at heights. Information on tolerances and procedures should be defined and documented on a project-specific basis.
This page may be cited in commercial and non-commercial publications (e.g., specialist publications, forums, or social media) without prior permission.
Please feel free to copy the following link for your quote.