

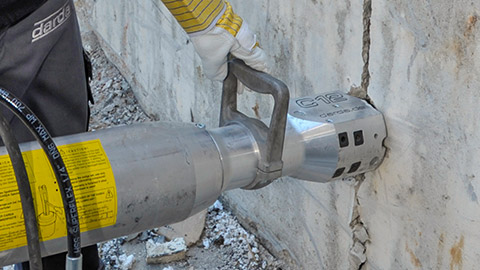
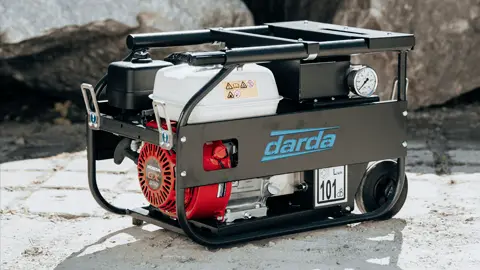
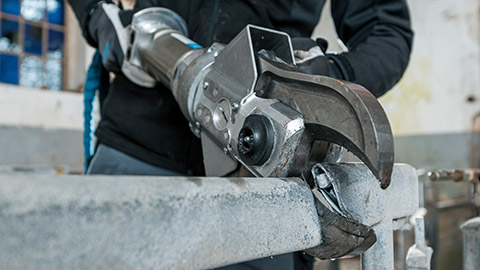
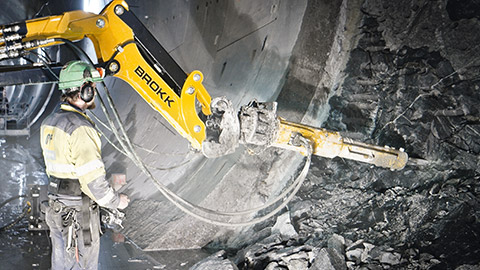
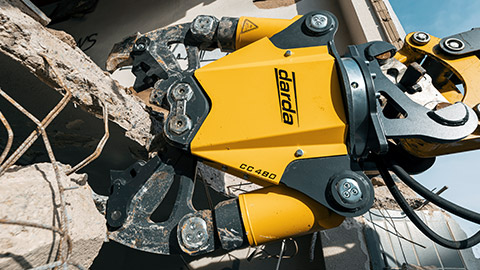
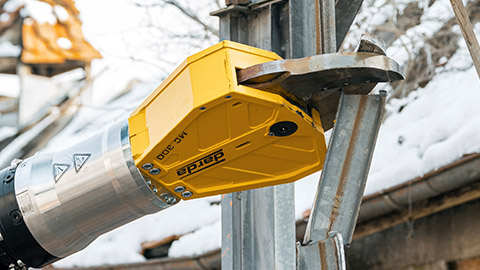
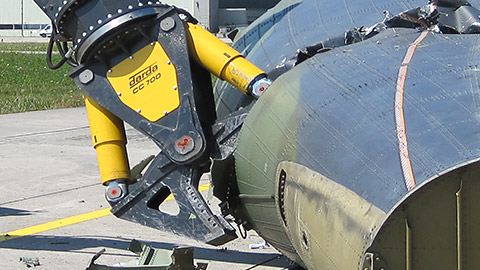
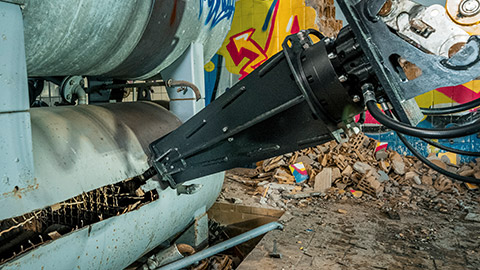


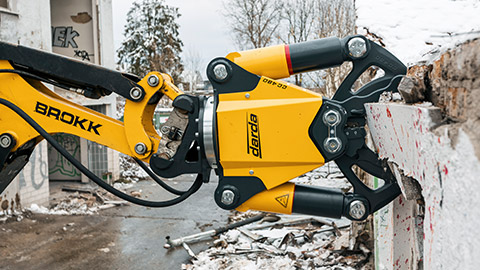





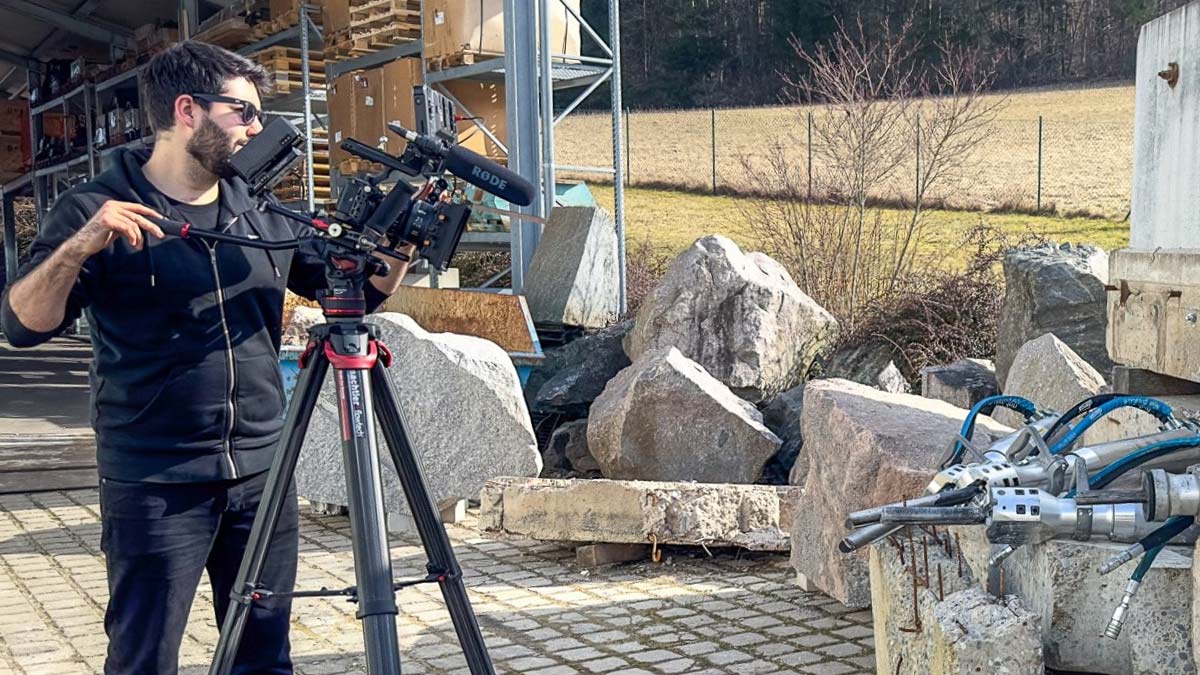




The edge distance describes the distance between an intervention point – such as a borehole, split location, cut, or gripping position – and the free component edge. In demolition, deconstruction, rock cutting/processing, and natural stone extraction, it decisively determines the fracture pattern, safety, and process quality. For work with hydraulic wedge splitter, rock wedge splitter, or concrete pulverizer (such as with hydraulic rock and concrete splitters), a deliberately chosen edge distance is a central criterion to avoid spalling, uncontrolled cracks, and consequential damage and to reproducibly create the desired separation joint. In technical language, edge distance is also described as the distance to a free edge or local stand-off; the meaning is identical and always refers to the shortest path from the load introduction point to the free boundary.
Definition: What is meant by edge distance?
Edge distance is the shortest distance between a point of applied force or introduction (e.g., drill-hole center, shear/gripper start point, cutting line) and a free edge, joint, opening, or the end of a component. The edge distance influences how stresses distribute in concrete or rock and determines whether a controlled crack path develops or whether unwanted spalling occurs. Edge distance must be distinguished from center spacing (hole spacing) and component thickness; all three parameters together form the governing geometry set for safe separation and splitting processes. It also differs from reinforcement cover, which refers to the distance from reinforcement to the surface and has a different function and verification logic.
Function and influence of edge distance on fracture pattern and load-bearing behavior
An adequate edge distance limits notch and edge effects, prevents premature splitting-tension cracks, and steers crack direction. In concrete, it governs the formation of the compression and shear cone; in natural stone and rock, it governs the propagation of existing joints. Distances that are too small lead to breakout cones or edge failures; distances that are too large entail additional work, higher energy input, and imprecise separation joints. The goal is an edge distance that utilizes material strength while avoiding edge overloading. In practice, the same edge distance can behave differently depending on heterogeneity, scale, and moisture state – conservative trialing and incremental adjustment therefore remain integral to process control.
Edge distance in concrete demolition and special demolition
In concrete demolition the edge distance to the component end, to openings (e.g., windows, shafts), and to joints must be chosen such that the residual load-bearing capacity is preserved during the works and the demolition sequence remains plannable. In wall and slab elements, reinforcement layers, cover, and embedded components affect the optimal distance. Especially with concrete pulverizer, the start/grip point must be chosen so that the jaws receive sufficient bearing area without overloading the edge. With hydraulic wedge splitter the edge distance in the borehole pattern controls crack initiation and the detachment of defined segments. Sequencing, temporary supports, and a stepwise reduction of cross-sections stabilize interim states and reduce the risk of progressive spalling at edges and openings.
Borehole patterns and edge distance for stone and concrete splitting devices
For controlled splitting of concrete and rock, boreholes are arranged in rows or fields. The edge distance of the first row to the edge influences crack initiation in the direction of the desired separation line. Staggered patterns and a consistent alignment of boreholes with the intended fracture plane improve predictability and reduce secondary cracking perpendicular to the separation line.
Basic principles
- The first hole row should be positioned so that a controlled crack can form between the edge and the row without the edge breaking out.
- The hole spacing within the row and the row spacing are coordinated with the edge distance to achieve uniform stress distribution.
- Component thickness, reinforcement density, aggregate size, and strength govern the choice of typical spacings.
- Start and end holes can be slightly offset to prevent stress peaks at corners and to promote straight fracture fronts.
- Avoid aligning holes exactly along pre-existing visible cracks or weaknesses that would divert the main fracture.
Practice-oriented reference values (non-binding)
- Concrete: Edge distances of the first hole row are often on the order of one to two drill-hole diameters; in finely reinforced zones they tend to be larger.
- Rock/natural stone: Variable depending on jointing and bedding; in highly jointed rock, larger distances are useful to avoid uncontrolled edge breaks.
- Fiber-reinforced or high-strength concrete: Select somewhat larger distances and reduce hole spacing incrementally to avoid bridging-induced edge blowouts.
These values are non-binding guidance and must always be adapted to the material, component geometry, and workflow. Calibration in a small test field before full-scale application helps confirm spacing, row offset, and the required energy input.
Edge distance when using concrete pulverizer and combination shears
Concrete pulverizer acts through compressive and shear forces. An edge distance that is too small leads to edge spalling; one that is too large requires greater opening and pressing strokes. The start point should be chosen so that the edge is adequately supported and forces are introduced into the cross-section without overloading the edge zone. Avoid prying actions with long lever arms at the edge; a compact bite near a supported zone reduces tensile splitting and preserves adjacent elements.
Start points and gripping direction
- Grip as perpendicular as possible to the planned separation joint, with sufficient bearing of the jaws.
- Choose the distance to the edge so that the tool exposes reinforcement step by step without blowing the cover.
- When creating openings, work gradually from the edge inward and adjust the edge distance according to component thickness.
- Avoid first bites directly at free corners; begin slightly offset and remove material in layers to keep corner integrity.
- Keep the lever arm small by staying close to temporary supports or remaining cross-sections when possible.
Material- and structure-dependent factors
Edge distances are not fixed numbers; they follow material behavior. Heterogeneous or weathered materials call for conservative edge distances and closer observation of the crack response, especially in transitional zones between different materials.
Concrete
- Strength class and aggregate size influence spalling and crack behavior.
- Degree of reinforcement and cover locally increase edge-zone strength but change the crack pattern.
- Moisture and temperature affect toughness and brittleness.
- Fibers and supplementary cementitious materials can increase crack-bridging capacity, requiring adjusted hole spacing and slightly larger edge distances.
Rock and natural stone
- Jointing, bedding, and anisotropy determine crack propagation more strongly than compressive strength alone.
- In weathered edge zones, larger edge distances are necessary for stable edges.
- Water-filled discontinuities and clay seams near the contour increase the risk of edge slabbing and call for increased distances and reduced energy steps.
Calculation and estimation in practice
In practice, edge distances are derived from experience, investigation, and simple design considerations. Ratios referenced to drill-hole diameter, component thickness, or aggregate size are often used. For sensitive components, a test area is recommended to calibrate distances, hole patterns, and grip points. As a rough orientation, first-row edge distances in concrete are commonly about 1 to 2 times the drill-hole diameter or about 0.25 to 0.35 of the component thickness when splitting across the thickness; the lower end of the range requires tighter quality control and excellent support conditions.
Procedure
- Investigate material (strength, reinforcement, joints, embedded components).
- Define demolition objective (segment size, separation line, permissible edge damage).
- Trial runs with varying edge distances and documented crack formation.
- Fix distances, define hole pattern/tool sequence, and monitor continuously.
- Define acceptance criteria and stop rules for deviations to enable immediate adjustment of spacing or start points.
Typical damage with unsuitable edge distance
- Edge failures: Breakout cones or slab-like spalling due to too small a distance.
- Uncontrolled cracking: Cracks run undesirably into the component center or toward openings.
- Excessive energy demand: Distances that are too large cause inefficient crack initiation and increase tool wear.
- Impaired residual load-bearing capacity: Undesired cracks weaken intermediate states during deconstruction.
- Pry-out and crushed bearing zones: Overstressed contact areas at the jaws or wedge sleeves due to an unfavorable lever arm near the edge.
Occupational safety and general framework conditions
Edge distances are also relevant for safety reasons. Sufficient edge stability protects against unforeseen breakout and falling parts. The choice of distances should be considered in the work and safety concept. Legal requirements can vary by country and project; project-specific, expert planning and documentation is advisable. Exclusion zones, monitoring for loose parts at edges, and clear marking of borehole fields and separation lines reduce residual risk during execution.
Edge distance in rock excavation and tunnel construction
In rock, the edge distance controls the loosening zone and the position of the fracture line relative to the contour. For headings and niches, a tight but safe edge guidance is crucial to maintain contours. Hydraulic wedge splitter and rock splitters are used so that the first borehole row maps the contour line, while the edge distance prevents breakouts at the tunnel face or bench, consistent with rock demolition and tunnel construction practice. Where the rock is laminated or heavily jointed, a slightly increased distance combined with reduced spacing between holes in the first row often improves contour fidelity without overbreak.
Contour fidelity and rework
- Select edge distances at contours slightly larger when the rock is brittle and jointed.
- In tough, homogeneous rock the distance can be tighter to reduce rework.
- At corners and transitions between lithologies, increase the first-row distance modestly and shorten spacing to keep the fracture on line.
Natural stone extraction: slabs and raw blocks
For producing raw blocks and slabs in quarries, the edge distance controls block-edge quality. Tight distances promote straight breaks but can damage the edges of marbled or bedded stones. Larger distances protect the edge but require additional separation steps. The goal is a material-appropriate distance along natural weakness zones. Reading veining and bedding orientation and aligning borehole fields accordingly reduces finishing effort and increases yield per bench.
Edge distance, reinforcement, and embedded components
In reinforced concrete components, reinforcement and embedded components influence crack guidance. With concrete pulverizer, the start point should be selected to avoid unnecessary cover spalling. For drilling patterns with hydraulic wedge splitter, coordination with detection and as-built measurement is recommended to avoid lap splices and anchors. The edge distance can be increased when the edge zone is more densely reinforced to prevent edge failures. Non-destructive testing methods (e.g., cover meters, scanning) support layout decisions and help document the rationale for chosen distances.
Measurement, testing, and documentation practice
Edge distances are set and checked on site with tape measure, ruler, or digital measuring tools. Simple, clear documentation of hole patterns, tool sequences, and achieved separation lines facilitates reproducibility. Deviations in the fracture pattern must be recorded and corrected with adjusted edge distances. Photo logs with scale references, color-coded markings for rows and spacing, and concise field sketches form a robust basis for later evaluation and continuous improvement.
Step-by-step: defining edge distances
- Survey the component or rock surface (geometry, edges, openings, joints).
- Assess material condition (strength, joints, reinforcement, embedded components).
- Define target separation line and permissible edge damage.
- Pilot test with two to three edge-distance variants at a non-critical location.
- Fix borehole pattern for hydraulic wedge splitter; mark start/grip points for the concrete pulverizer/hydraulic demolition shear.
- Execute the work section by section and continuously check the fracture pattern.
- In case of spalling, increase the edge distance or adjust hole spacing/approach angle.
- Record achieved tolerances at the edge and update spacing or distance rules before proceeding to the next section.
Application areas and specifics
- Concrete demolition and special demolition: Edge distances secure intermediate states, minimize consequential damage to adjacent components, and lead to plannable segment sizes.
- Building gutting and concrete cutting: When creating openings, the edge distance controls the risk of edge spalling; concrete pulverizer is guided so that edges remain load-bearing.
- Rock excavation and tunnel construction: Edge distances at contours avoid over- or underbreak and reduce rework.
- Natural stone extraction: Edge quality and yield depend on a material-appropriate edge distance.
- Special application: In confined conditions or sensitive structures, edge distances are defined project-specifically and closely monitored.
- Massive foundations and bridge elements: Larger cross-sections and multi-layer reinforcement require conservative first-row distances with tighter incremental adjustments.
Tool action and edge distance in interplay
The effectiveness of hydraulic wedge splitter, rock wedge splitter, or concrete pulverizer depends on the interplay of force, point of attack, angle, and edge distance. An appropriate distance reduces the required force, protects tools, and improves the surface quality of the separation joint. Equipment settings and procedure must be adjusted accordingly. For splitting, the relation between borehole diameter, wedge expansion path, and first-row distance controls how quickly a continuous crack forms – insufficient interaction raises the risk of local crushing and edge blowouts.
Quality assurance and in-process adaptation
Even with careful planning, actual ground and material conditions often require adjustments. Regular visual inspection, re-measuring of edge distances, and a short stop in case of unexpected fracture patterns are part of quality assurance. Small adjustments – for example, a slightly increased edge distance of the next hole row or a modified start point for the tool – significantly improve process stability. Tracking key process indicators such as breakout rate at the edge, achieved segment weights, and tool cycle times enables data-backed refinements to spacing and edge distances over the course of the project.
This page may be cited in commercial and non-commercial publications (e.g., specialist publications, forums, or social media) without prior permission.
Please feel free to copy the following link for your quote.